As I’ll be walking the South Downs Way in one month’s time and, having learned a few lessons along The Ridgeway last year, I’ve acted upon the decision to downsize from a 65 litre rucksack.
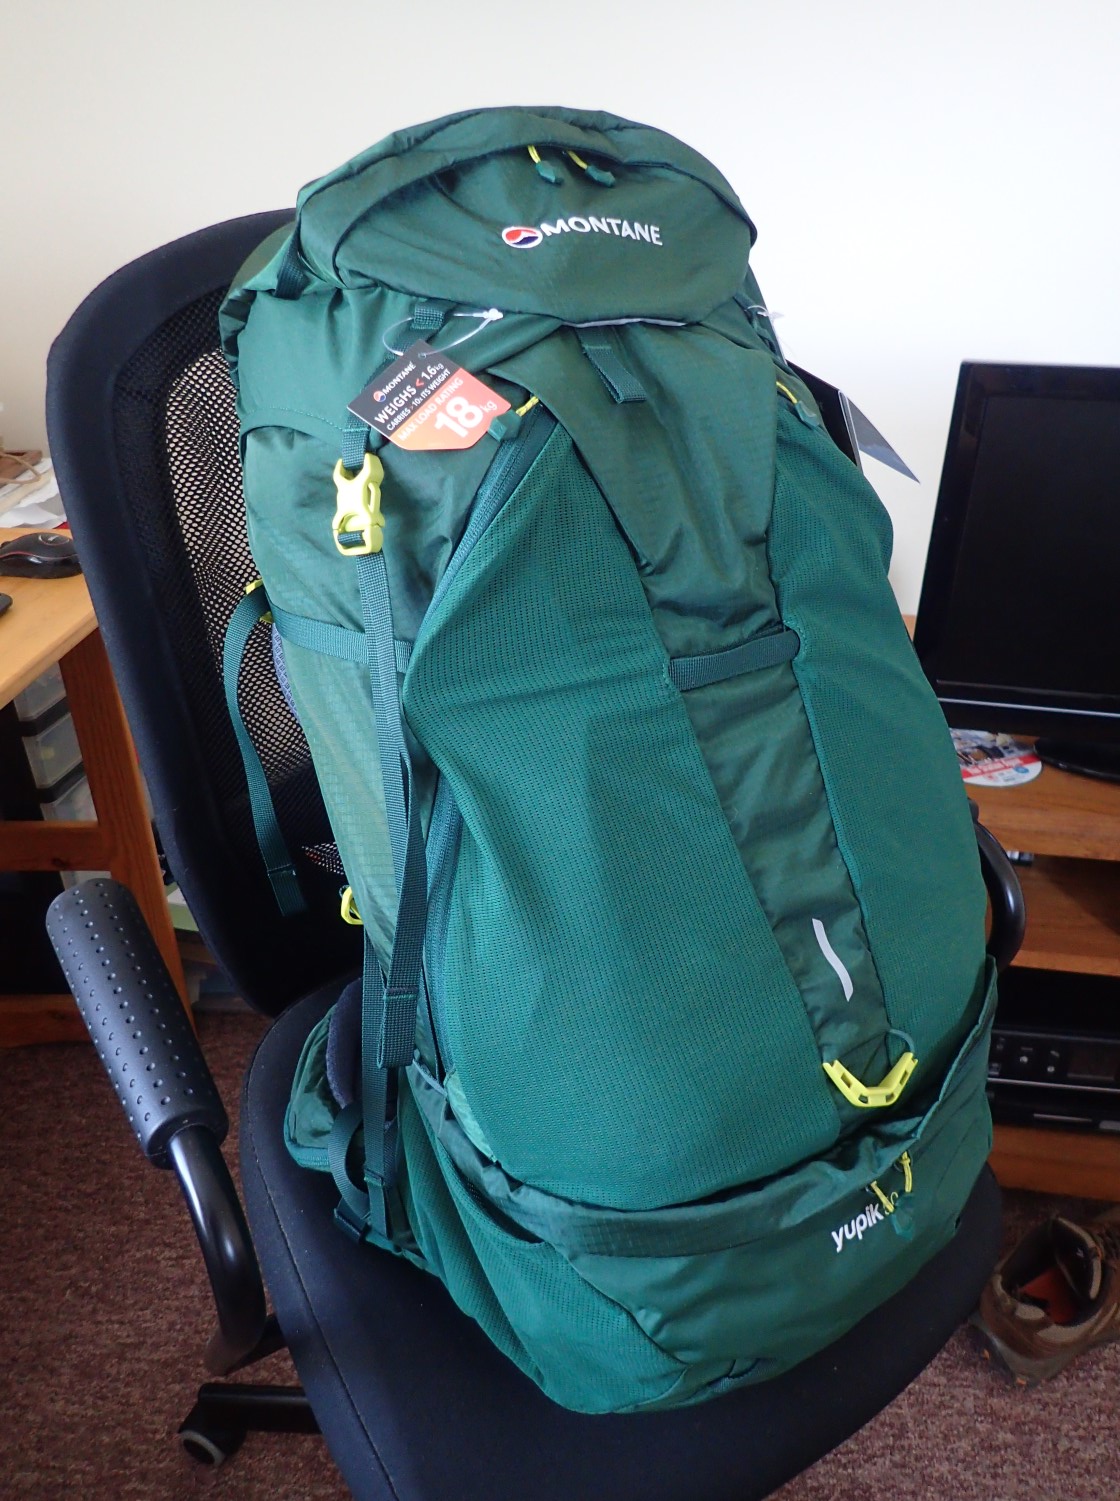
I’ve purchased the Montane Yupik 50 – a 50 litre pack that I’d been coveting for a while. In this post, I’ll share my initial thoughts with an overview. Prior to the purchase, I could find very little information available online.

I can still remember when I set off for my Ridgeway trek last June, with a pack weighing around 20kg… I went in to it with the automatic thought that “65kg was the perfect size for backpacking”, along with an inability to pack in a more ruthless and minimal fashion. I’ve read a lot and have seen many other videos on the kit and tricks that people will pack, since then.
I ended my walk of The Ridgeway carrying several kilograms less than what I started with and I realised that I could carry a 55 litre pack without having to stuff it to the point of bursting.
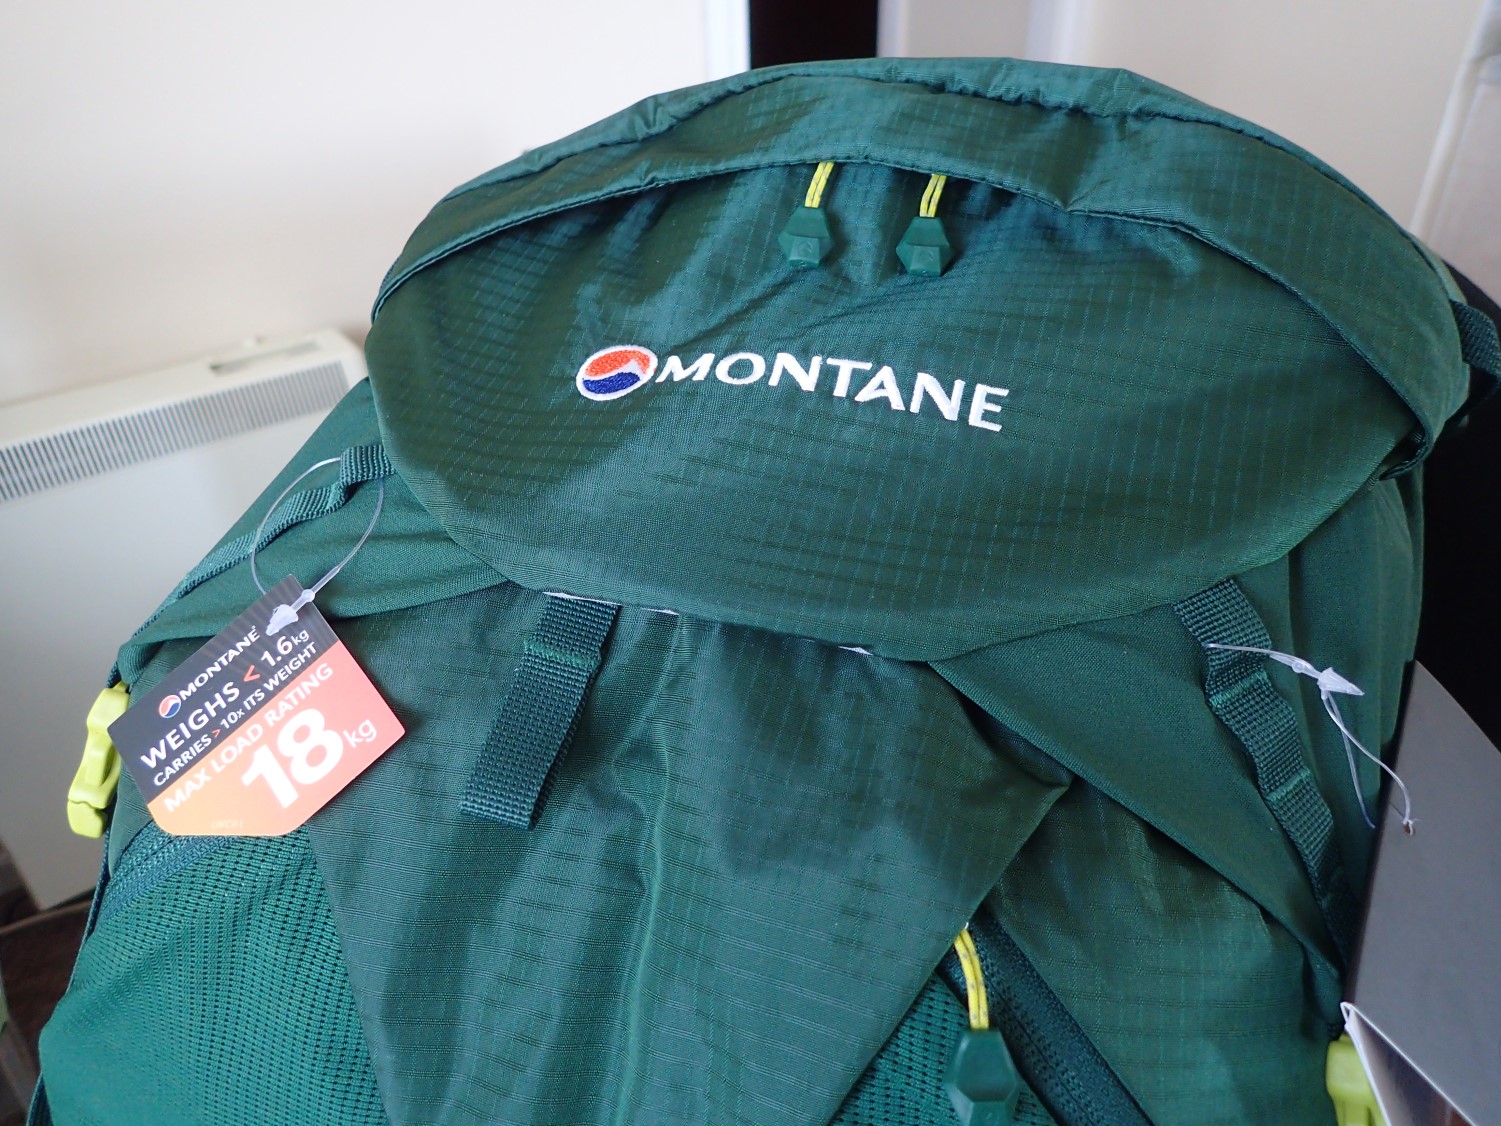
Like any good rucksack (or daypack – in my opinion), the Yupik 50 comes with a top lid. On the Yupik 65, I believe this might even be removable and adjustable in height. With the 50 litre pack there are no such adjustments available. But you can still stuff a rain jacket or outer tent skin, underneath.
Note the recommend maximum load label: I don’t plan to carry anything too close to this!

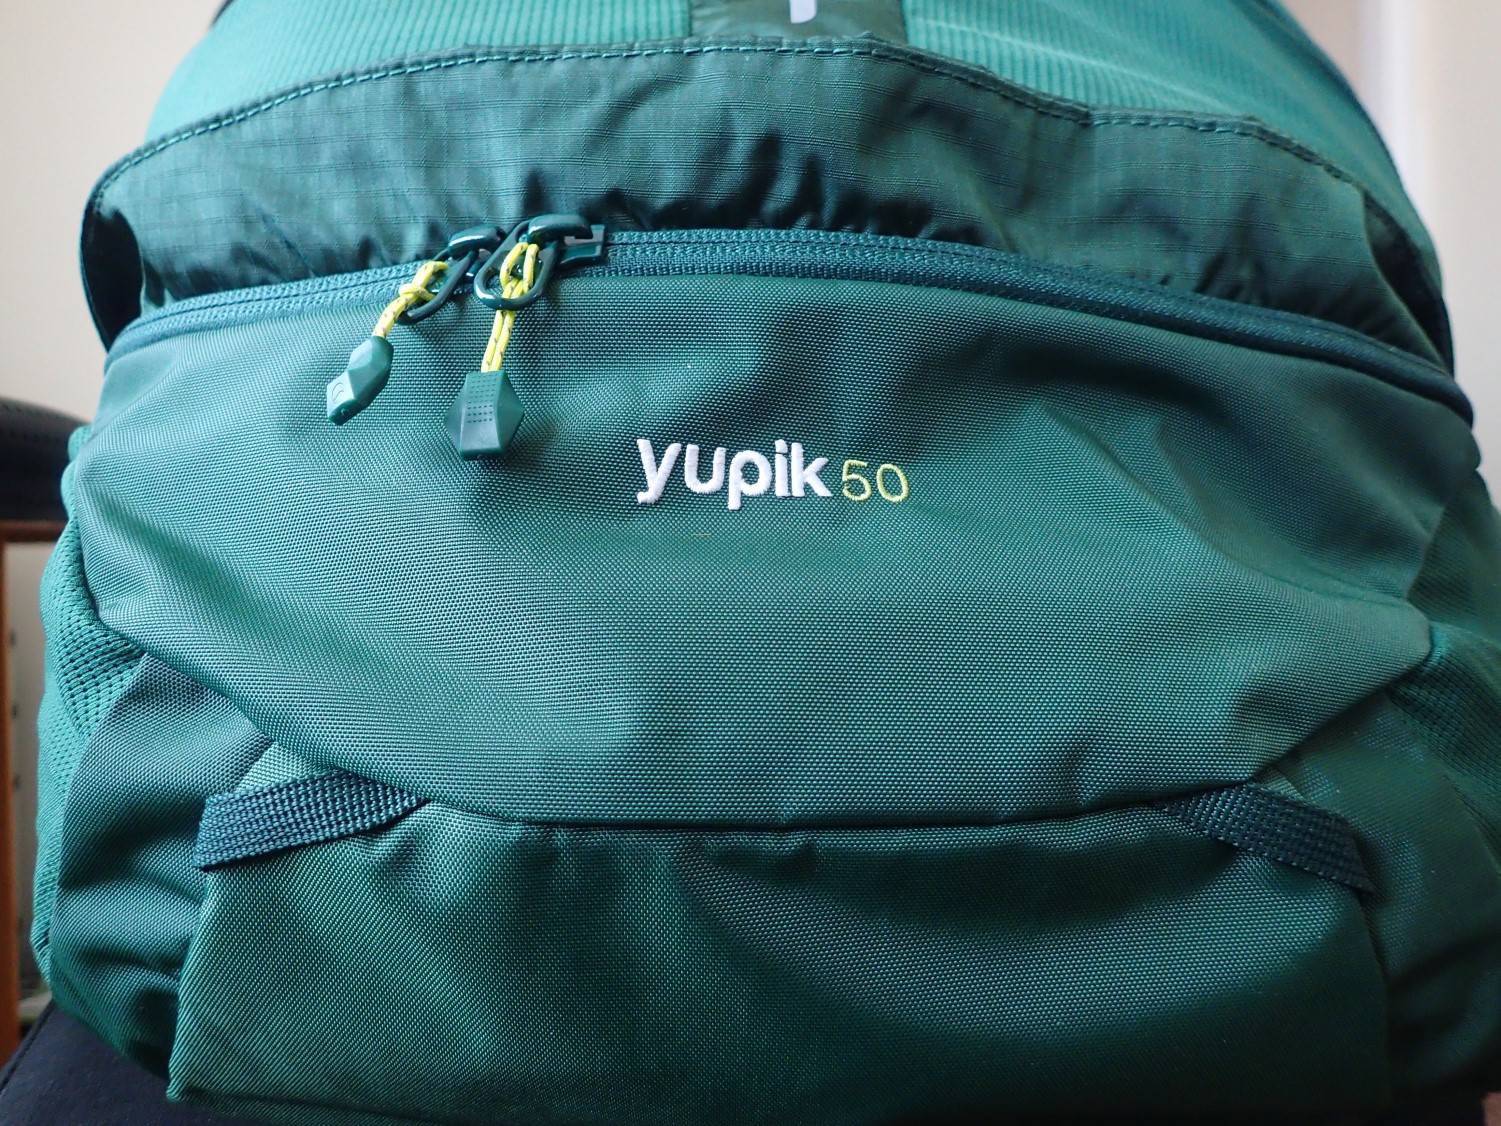
On the front is a zipped pocket, referred to by Montane as their ‘buddy pocket’… With the idea being that a ‘buddy’ or partner can access this space without you having to physically remove the pack.
I don’t intend to store anything too valuable in here (we’re talking gloves, a hat or buff and maybe my snacks for the day). As I’ll be hiking alone, the ‘buddy’ notion is lost on me.
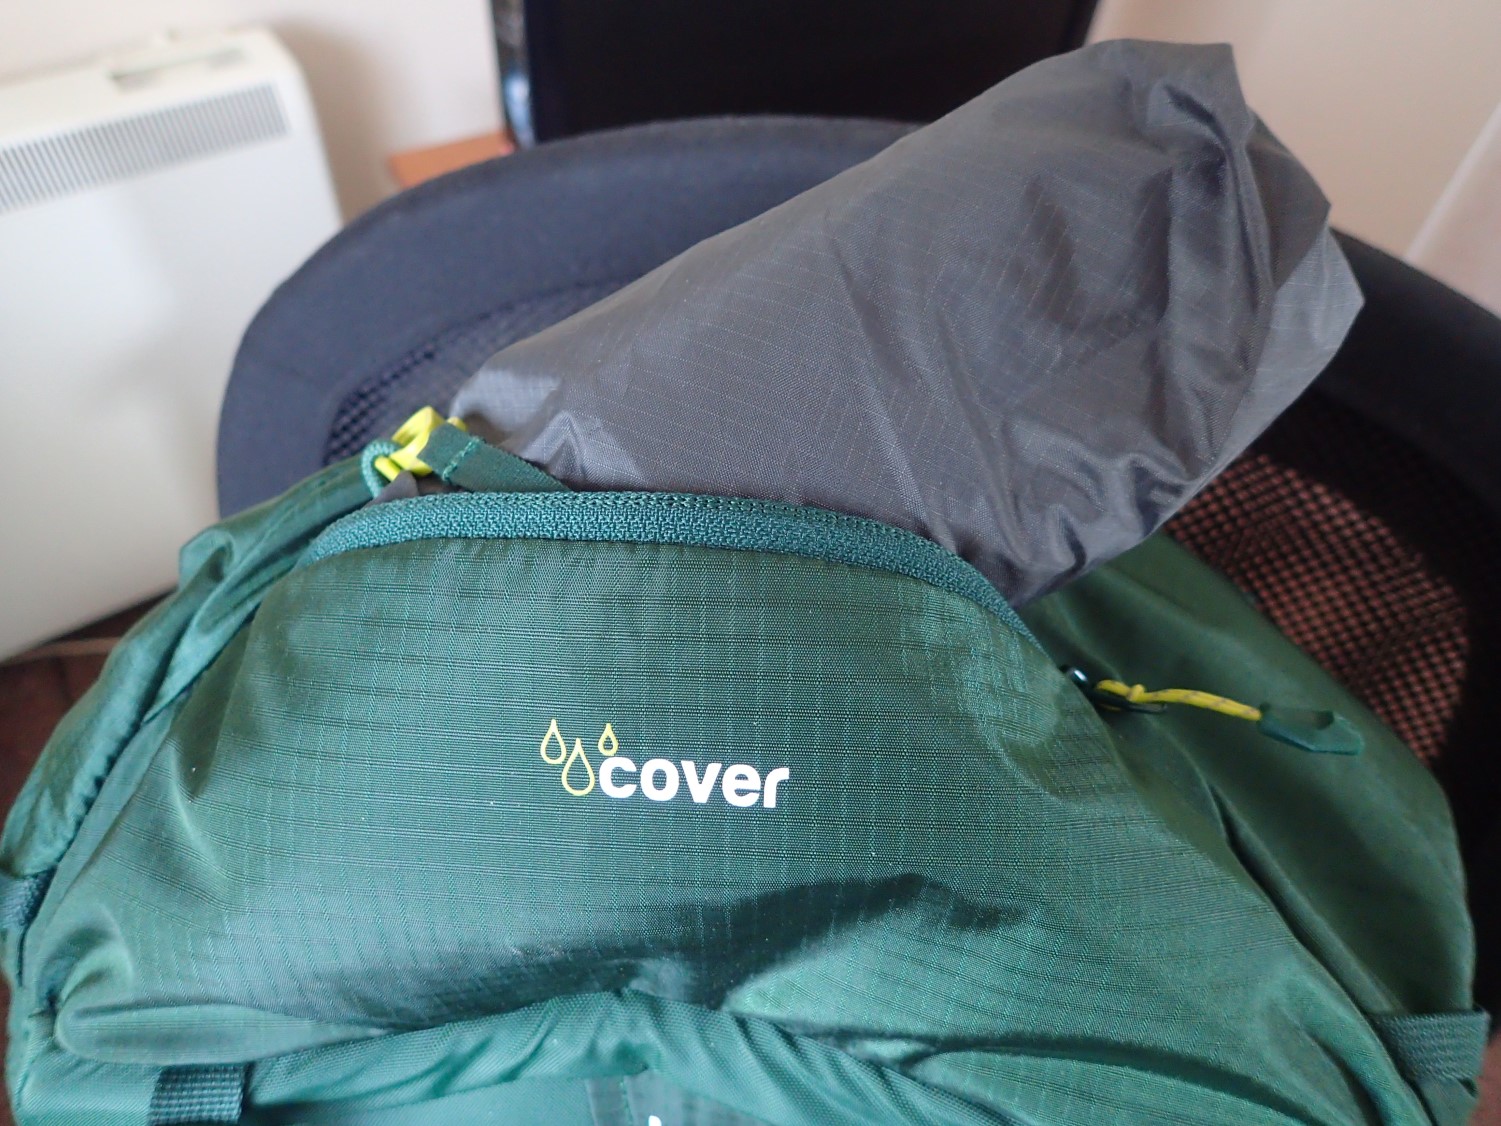
On the other side of this (behind your own neck) is the raincover pocket, where the cover is held in place by a clip, meaning it cannot completely blow away in the wind and you could potentially store other items while the cover is out.
My first thought: could they have switched the position of the buddy and raincover pockets?

On the underside is the more secure zipped pocket, which I normally to hold more valuable items (money and my phone) on a day hike. On the trail, I may keep some change, here but it’s more likely to be an ICE card with a few First Aid essentials.
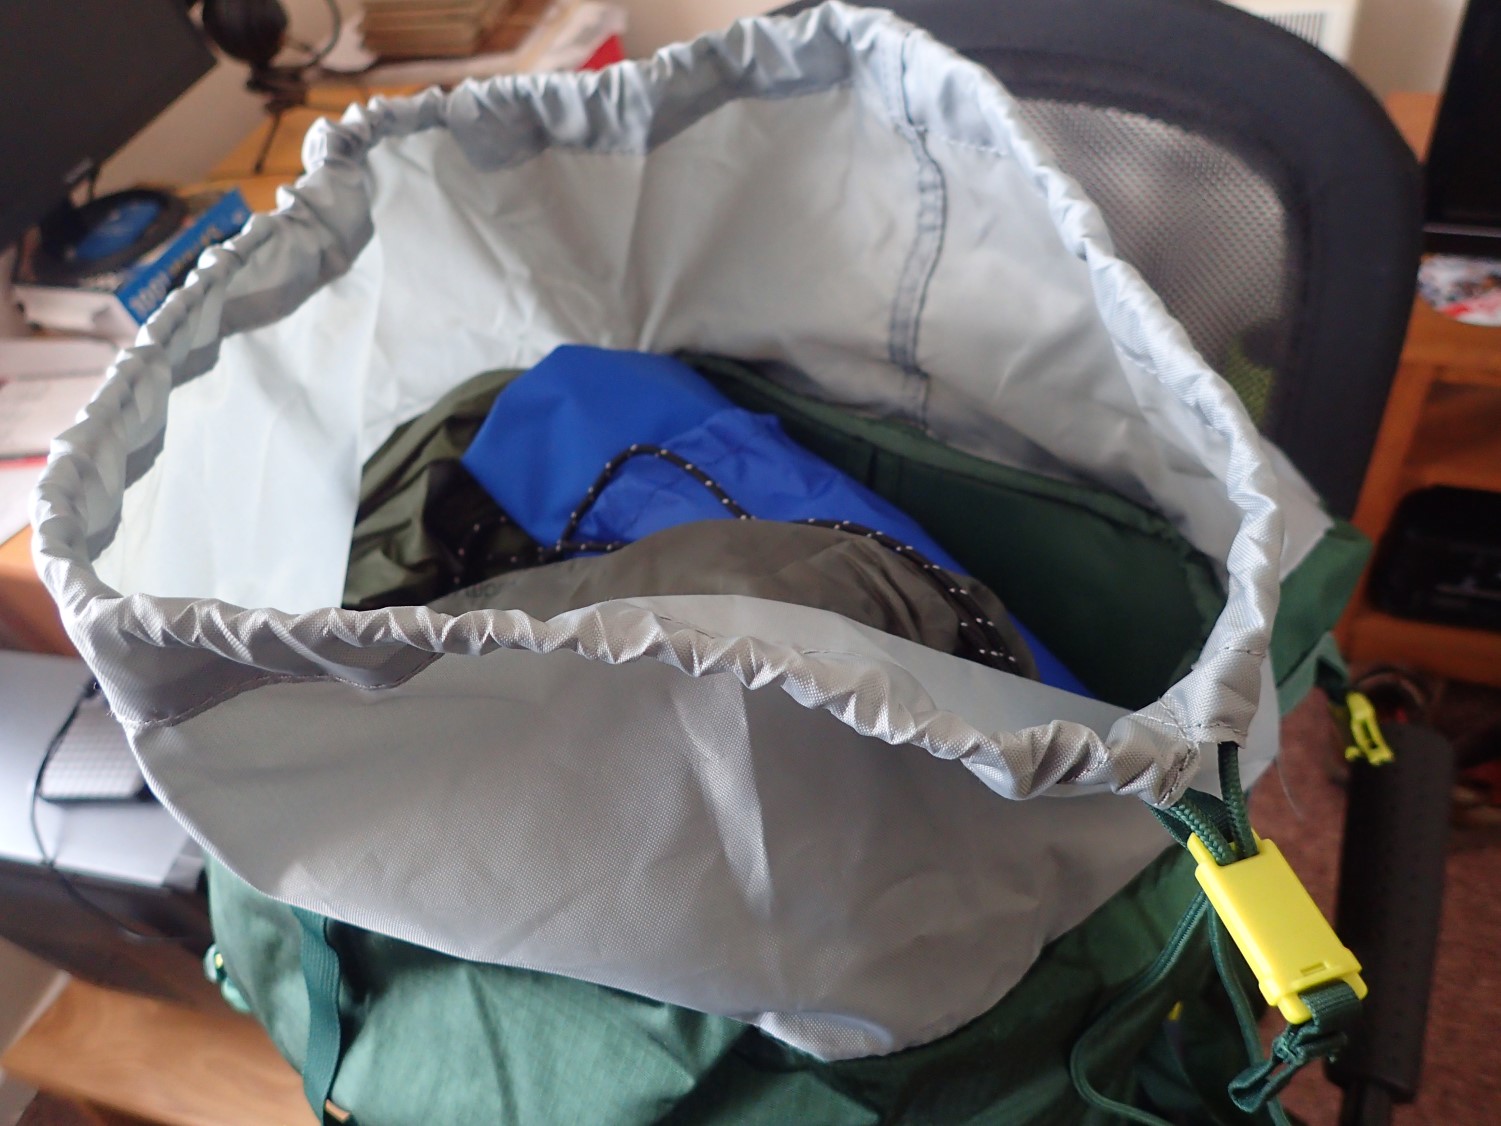
There’s a main access point from the top of the pack, with a fairly typical and effective drawcord closure that’s easy to open and close. On this pack, the toggle is located on the right, where it would be towards the front on most other models.
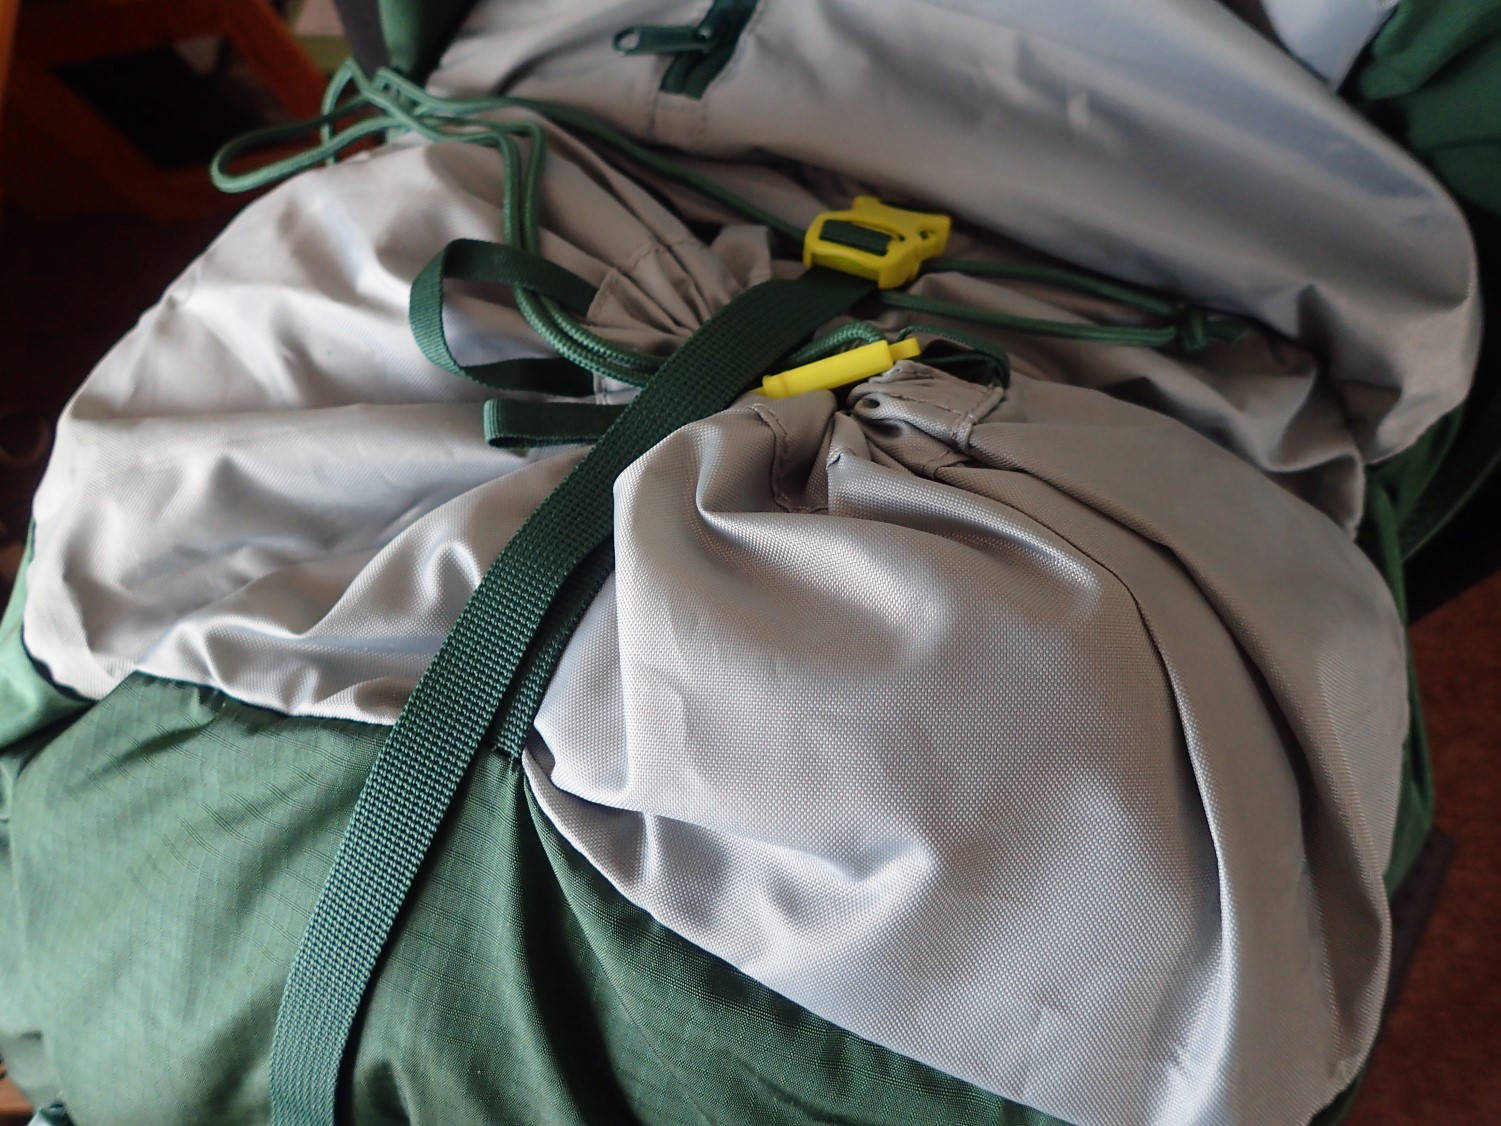
A front-to-back compression strap helps to compress the largest load from the top. You could also use this strap to secure a jack of tent sheet under the hood.
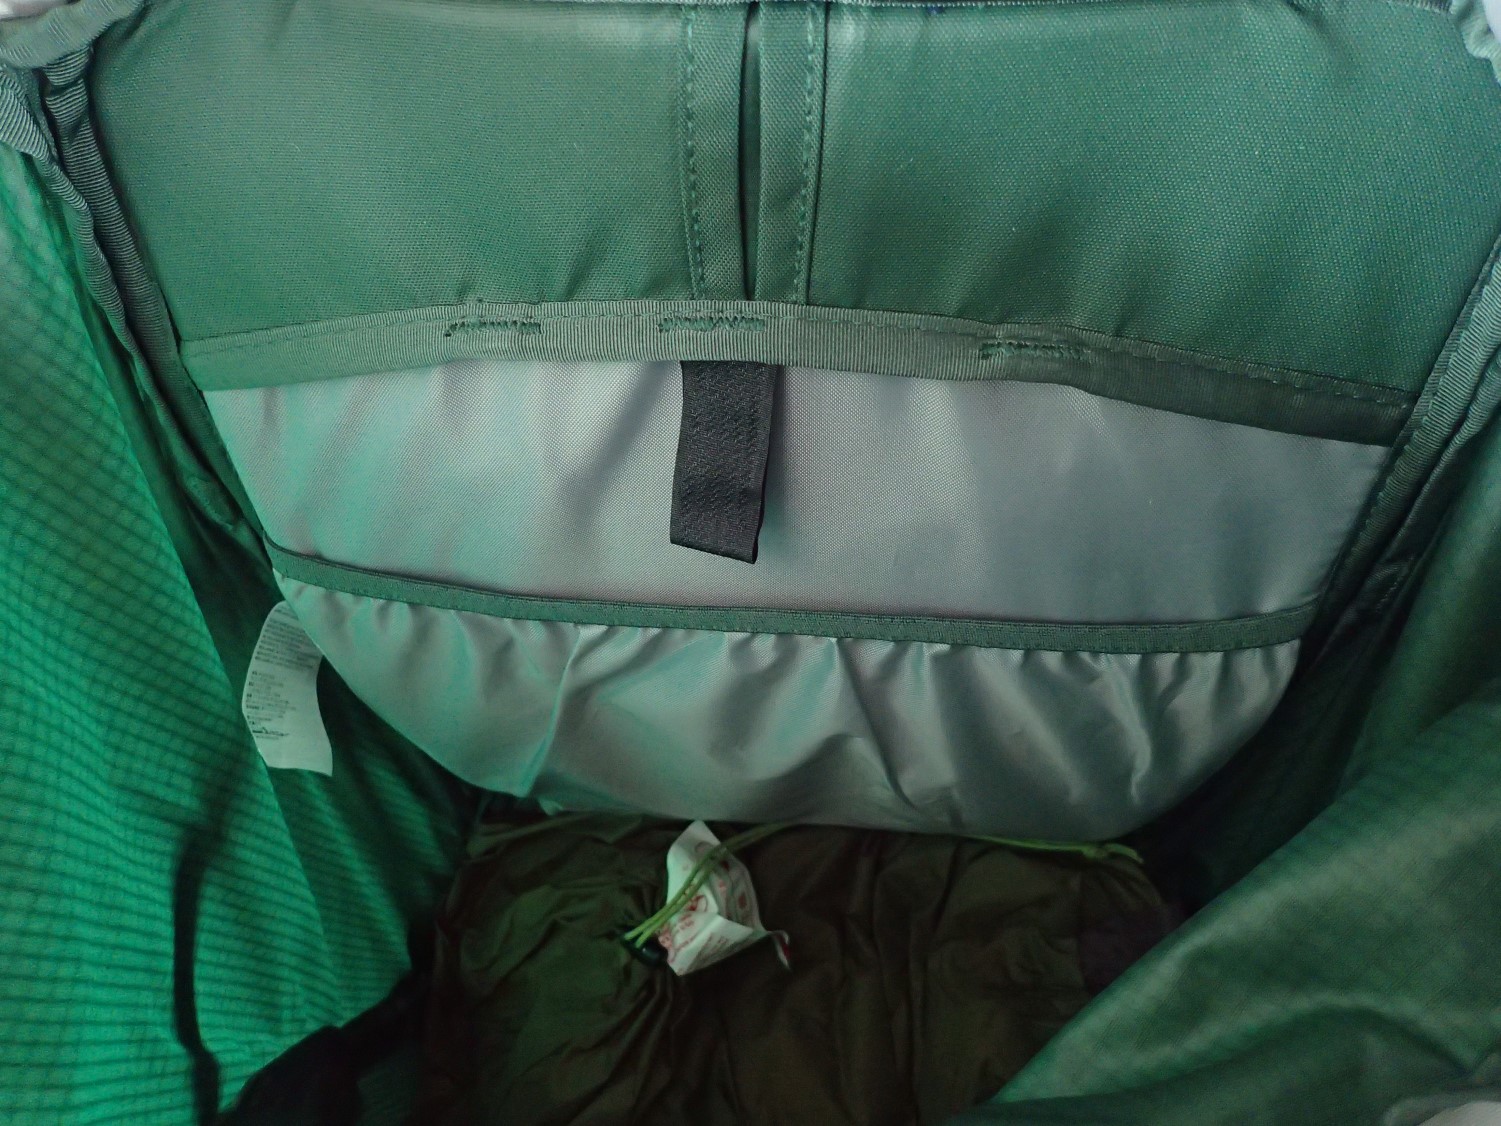
At the back is pocket for a hydration bladder. It looks as though it would comfortably hold a 3 litre pack. There’s a velcro strap to hold the bladder in place and a slot through which the hose can slip out to run down either of the shoulder straps.
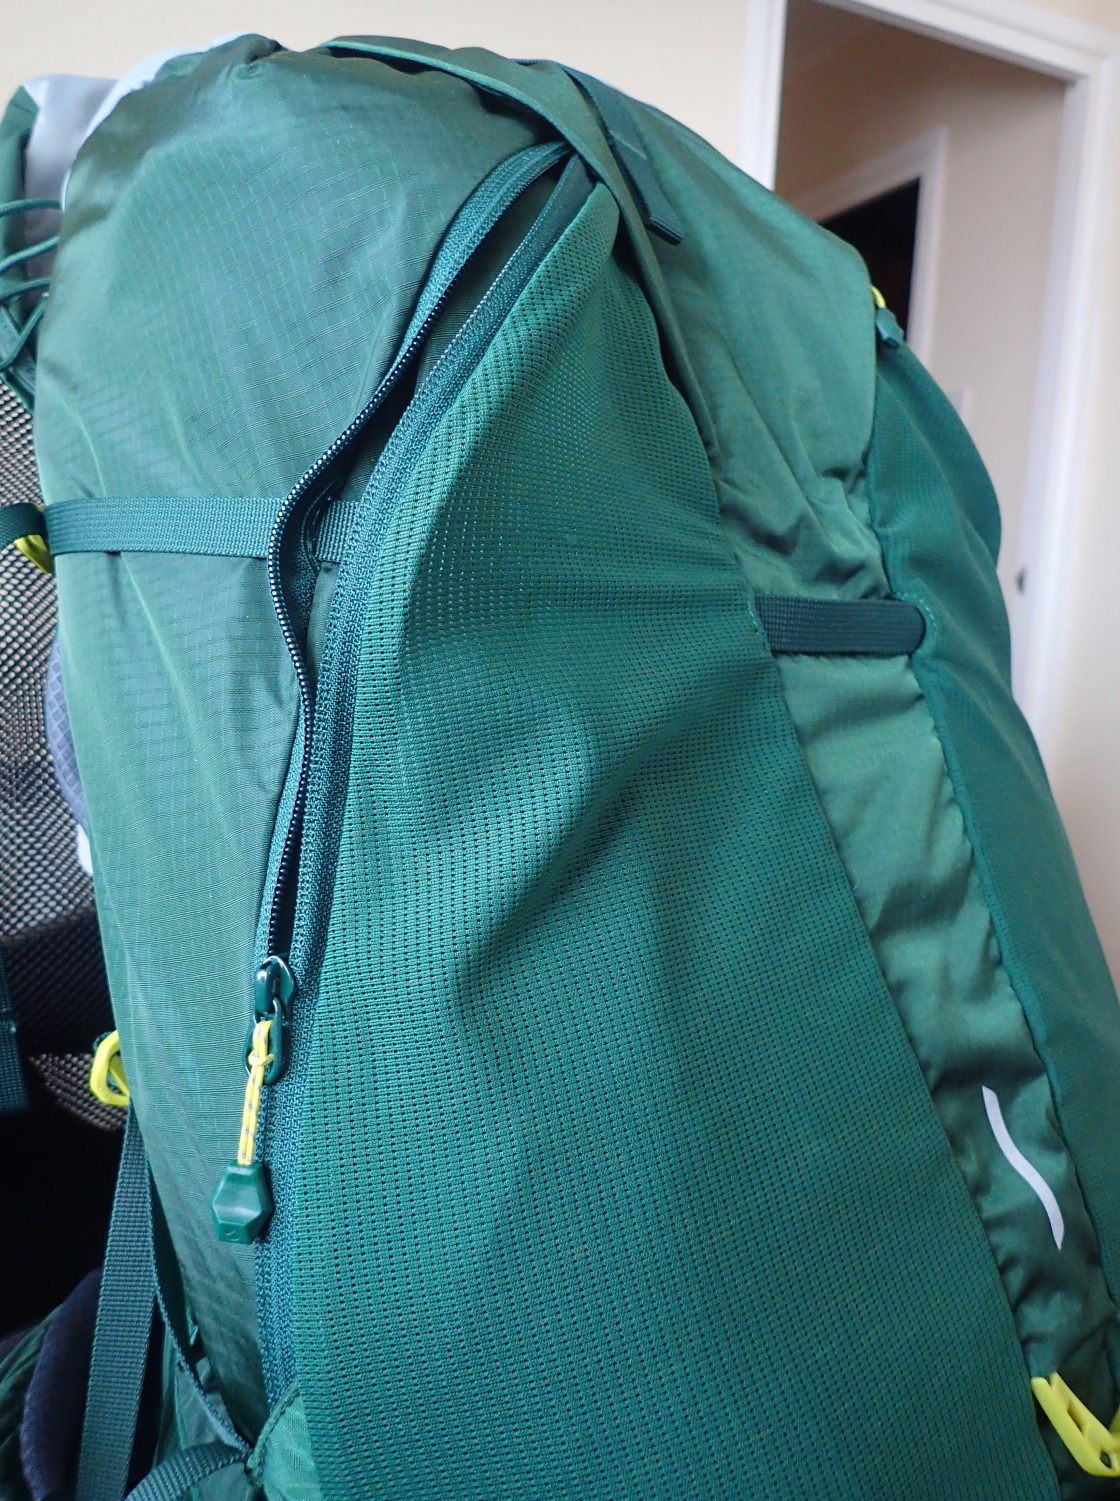
When shopping for a new pack of any size, a preference I now look for is a stretchy mesh pocket on the front of the pack. Large enough to stash and hold some of many items. This pack has two; one either side of the centre. I haven’t yet decided what to store in either of them (current thoughts include a damp tent outer for one) but I believe they’ll be very useful.
In between these two pockets is a horizontal compression strap that runs the spans the full width of the front of the pack in one continuous length. This can typically be used to hold the upper section of a pair of walking poles (not pictured).
An efficient use of materials. I don’t intend to carry my poles when I’m walking (and should be using them) but I know this will be useful when travelling on public transport.
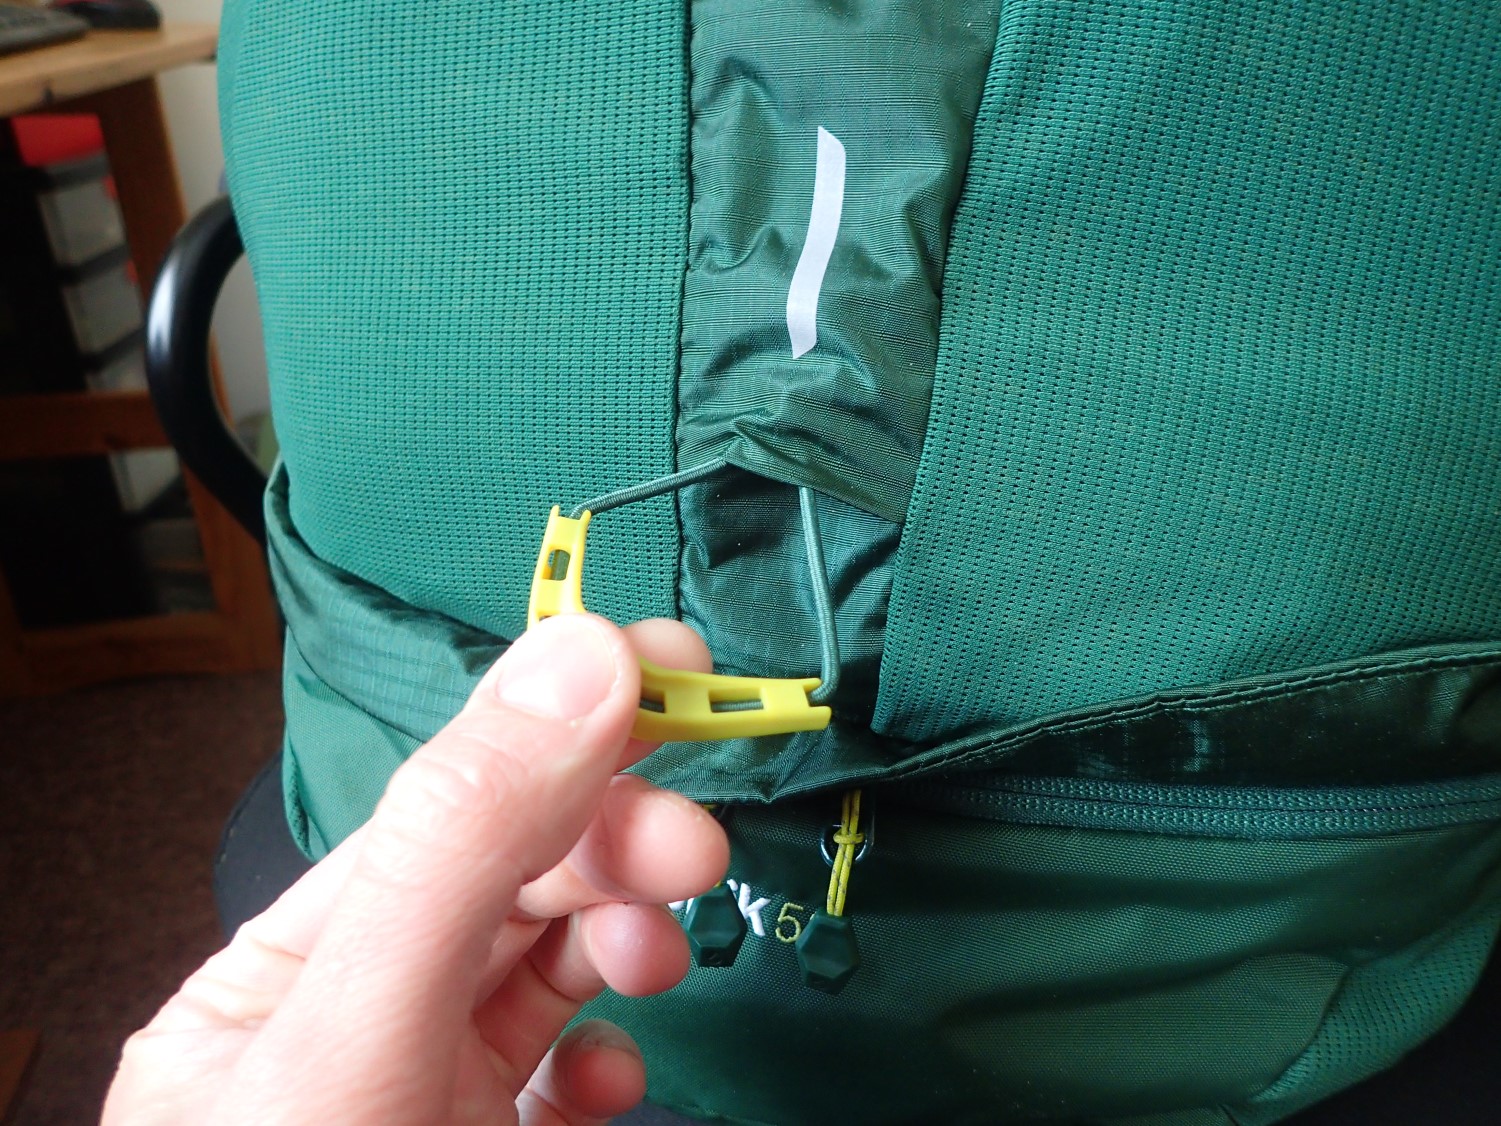
At the lower end, this bungee-corded strap can be pulled to grab the pointed ends of your poles. When or if not required, it can be tucked away for convenience.
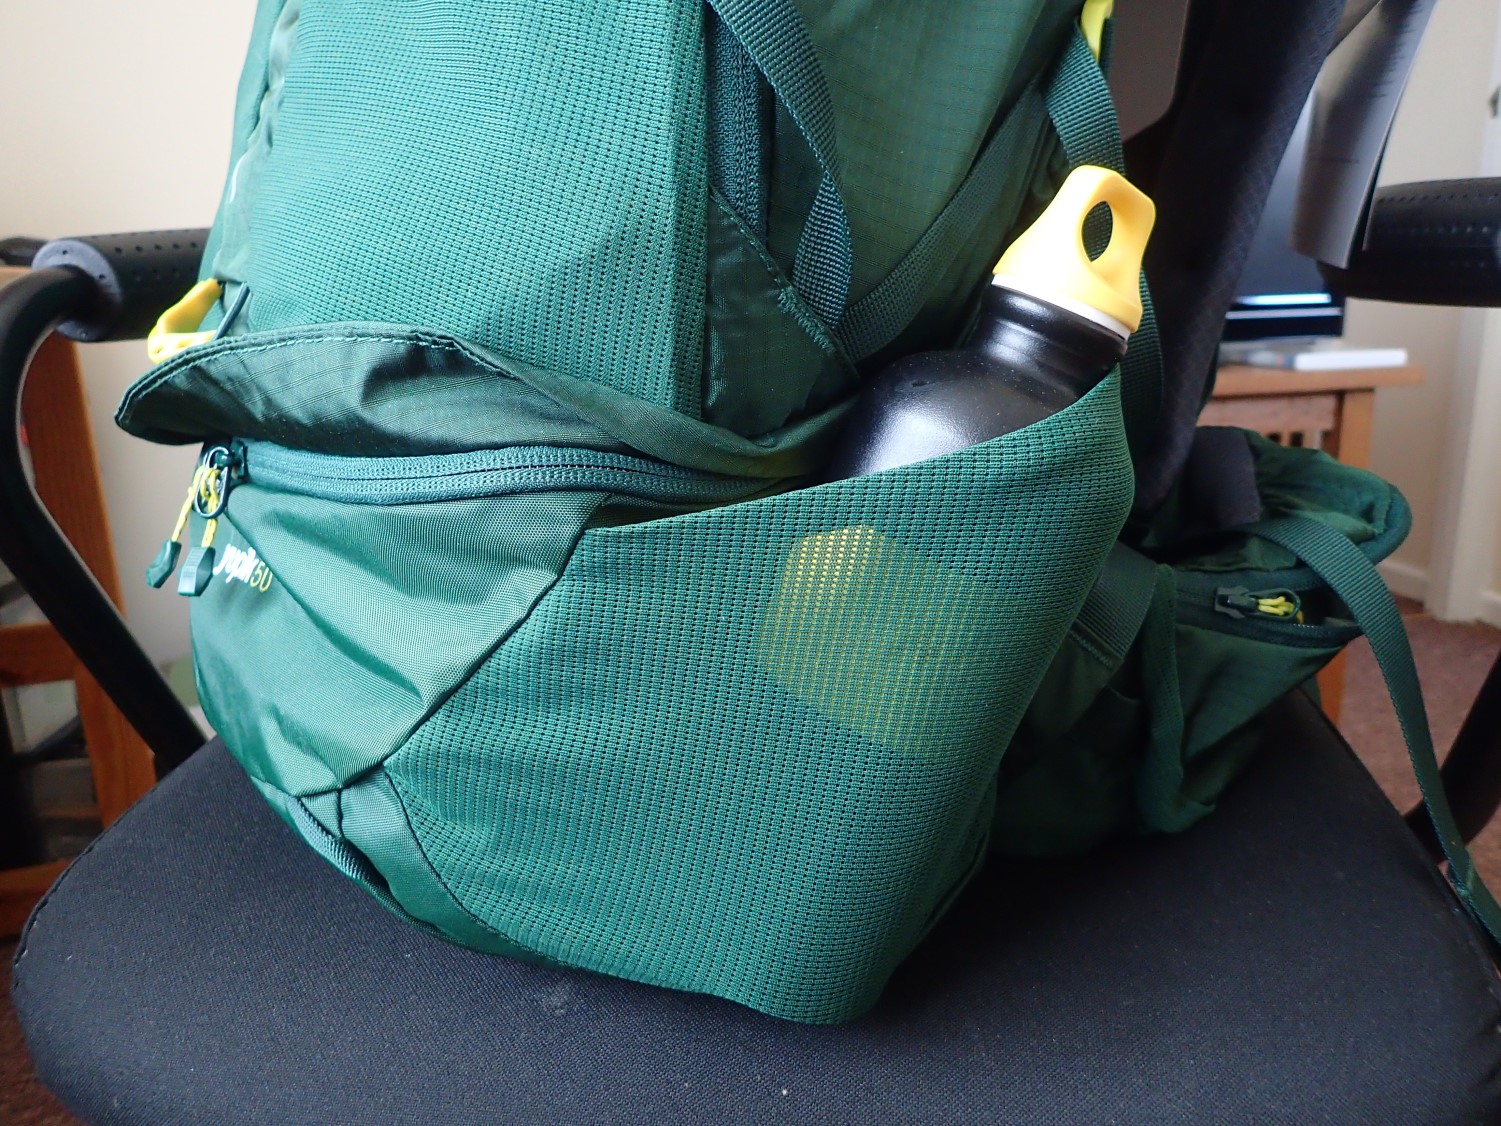
Mesh pockets sit on either side of this pack at the bottom. But they’re much shorter (if also wider) than what I’m used to with Osprey and Lowe Alpine packs. I don’t intend to stash any large water bottles here and the compression straps aren’t far away. Right now, I believe it’s simply not something I’m used to.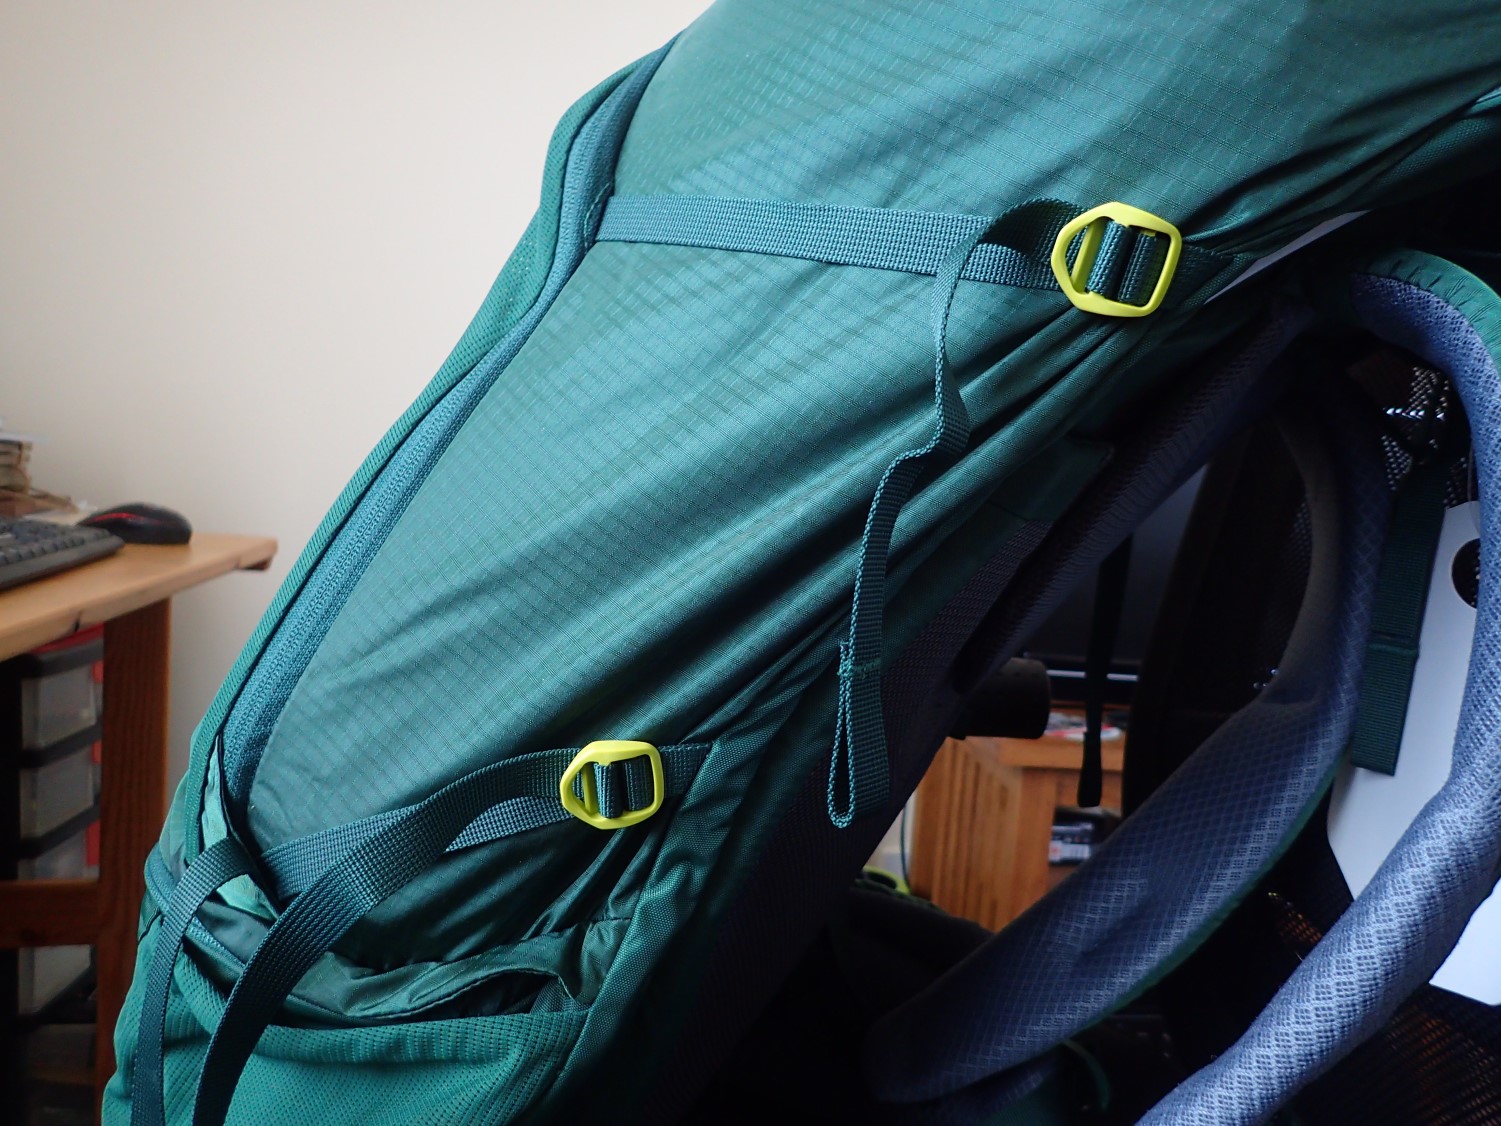
That means there are a typical pair of horizontal compression straps, as found with most rucksacks.
On the bottom is the common zipped sleeping bag compartment… Which I don’t like using to hold my two-season sleeping bag. Inside of this is a zipped divider that can be released to create a larger space in the main compartment. I did this with my previous Osprey pack, so I could use it as a lower quick-access point.
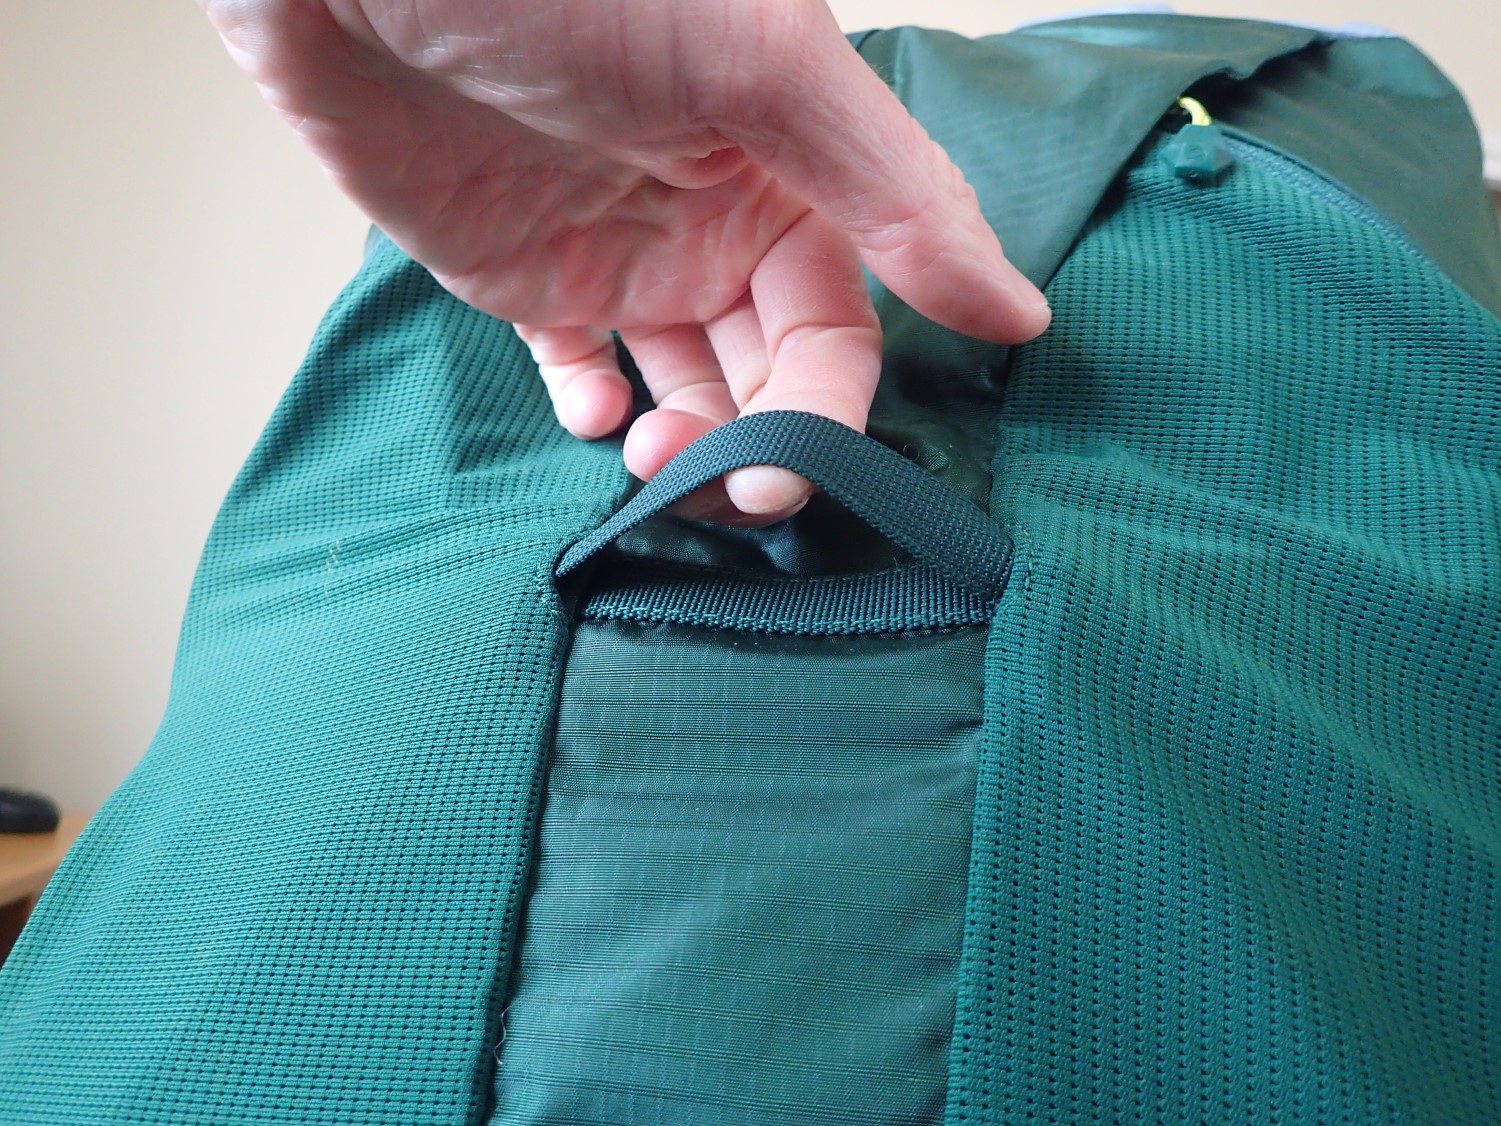
I might’ve gone for the Osprey Kestrel 48, which does have sleeping pad straps here. I’m currently thinking that I can use velcro straps with the two visible loops to hold my outer tent, for quick pitching or to allow a damp fly to dry.

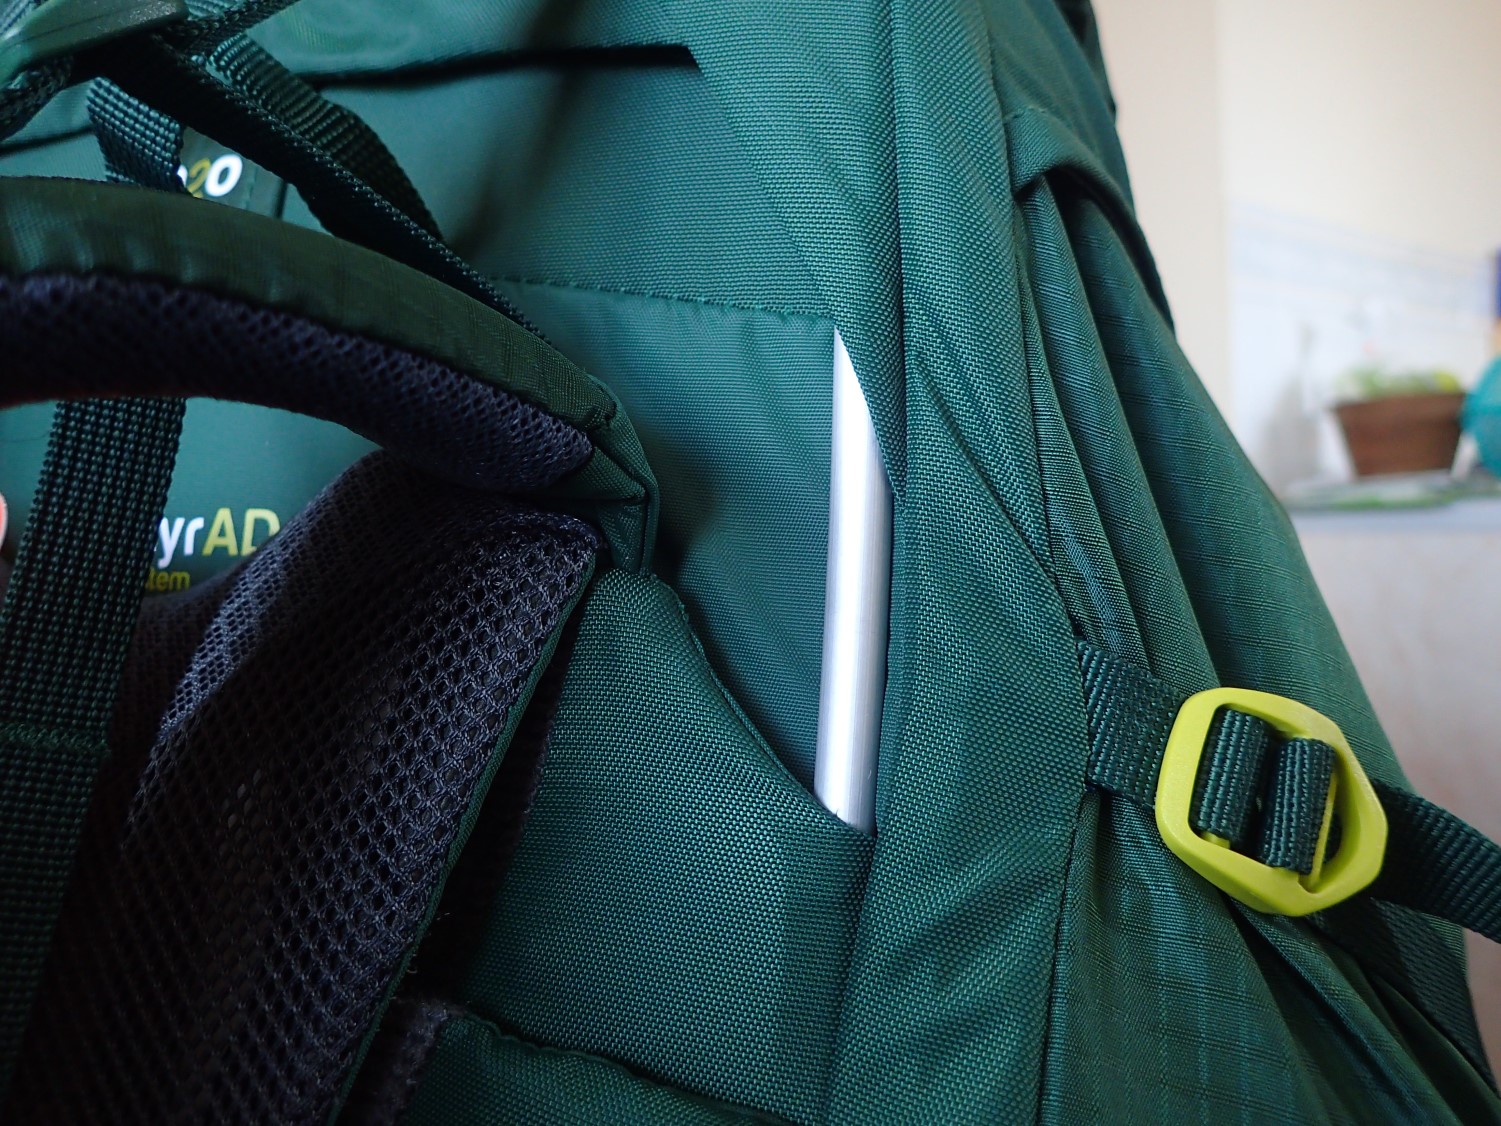
On to the back system, which features Montane’s Zephyr AD system, as used on some of their other recent packs of varying sizes.
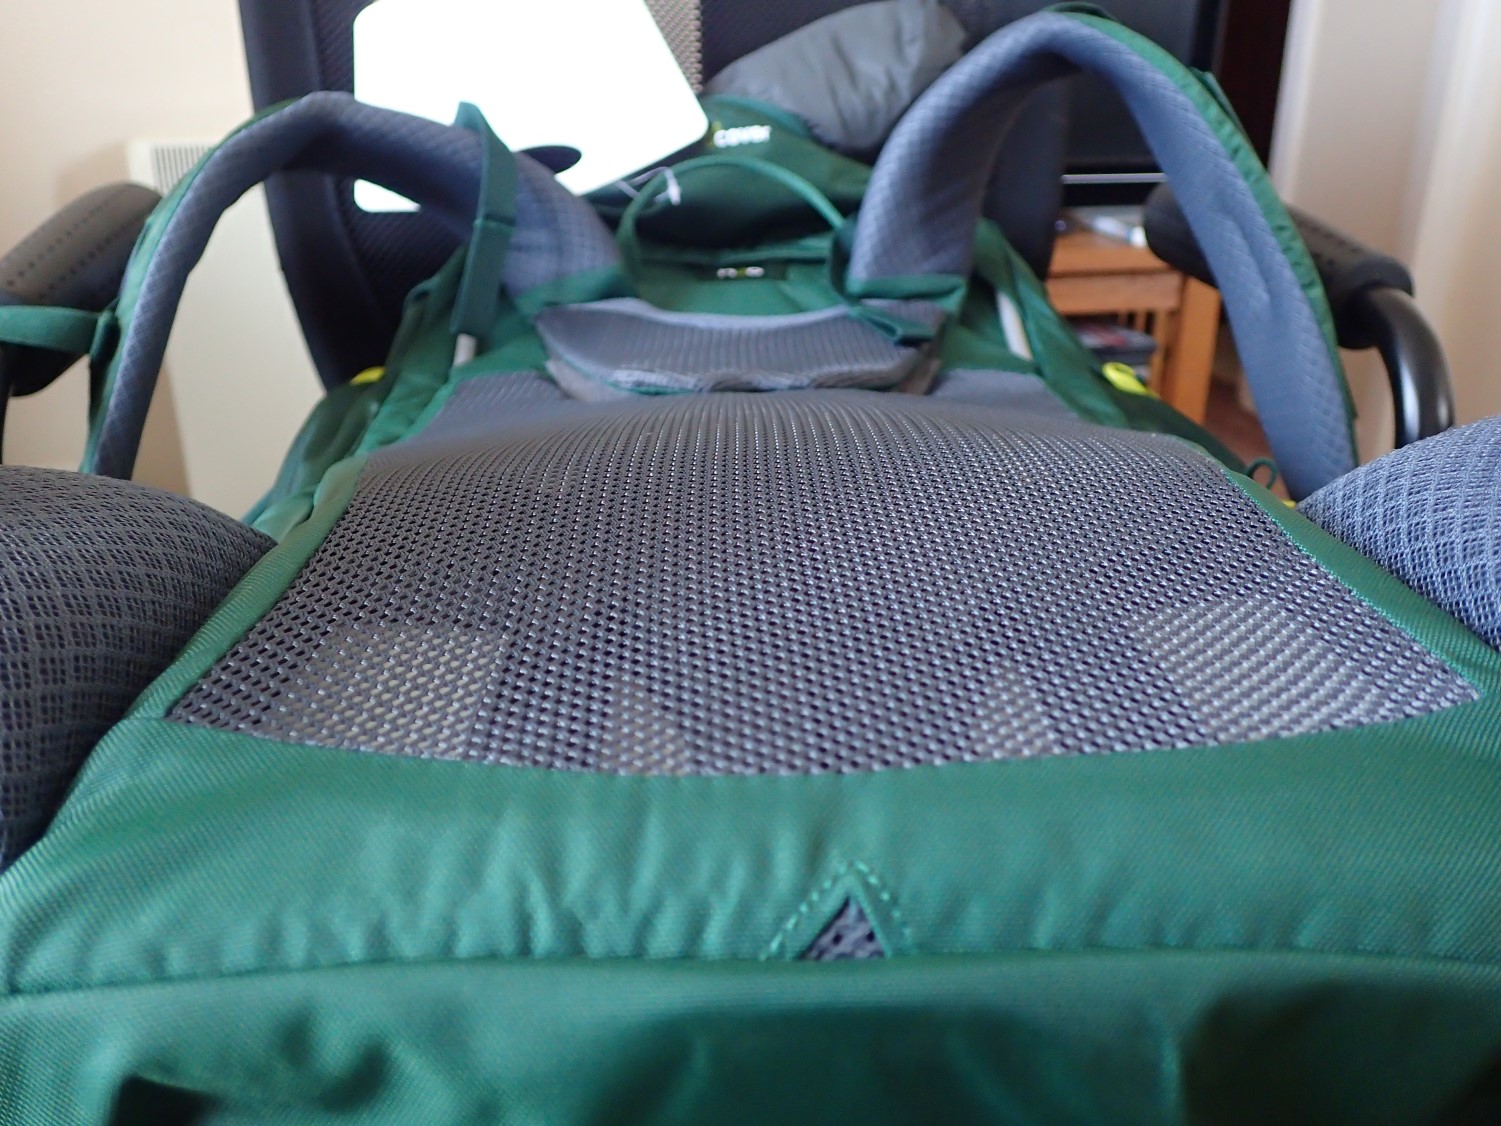
I did read one brief review stating that the back is prone to ‘barrelling’ and being less comfortable than more expensive packs… I have noticed this ‘pronounced curve’, even with a pack that’s not fully loaded (that would be the greater test). How comfortable will it be along a multi-day hike? It’s not uncomfortable. It just doesn’t sit perfectly against the shape of your back.
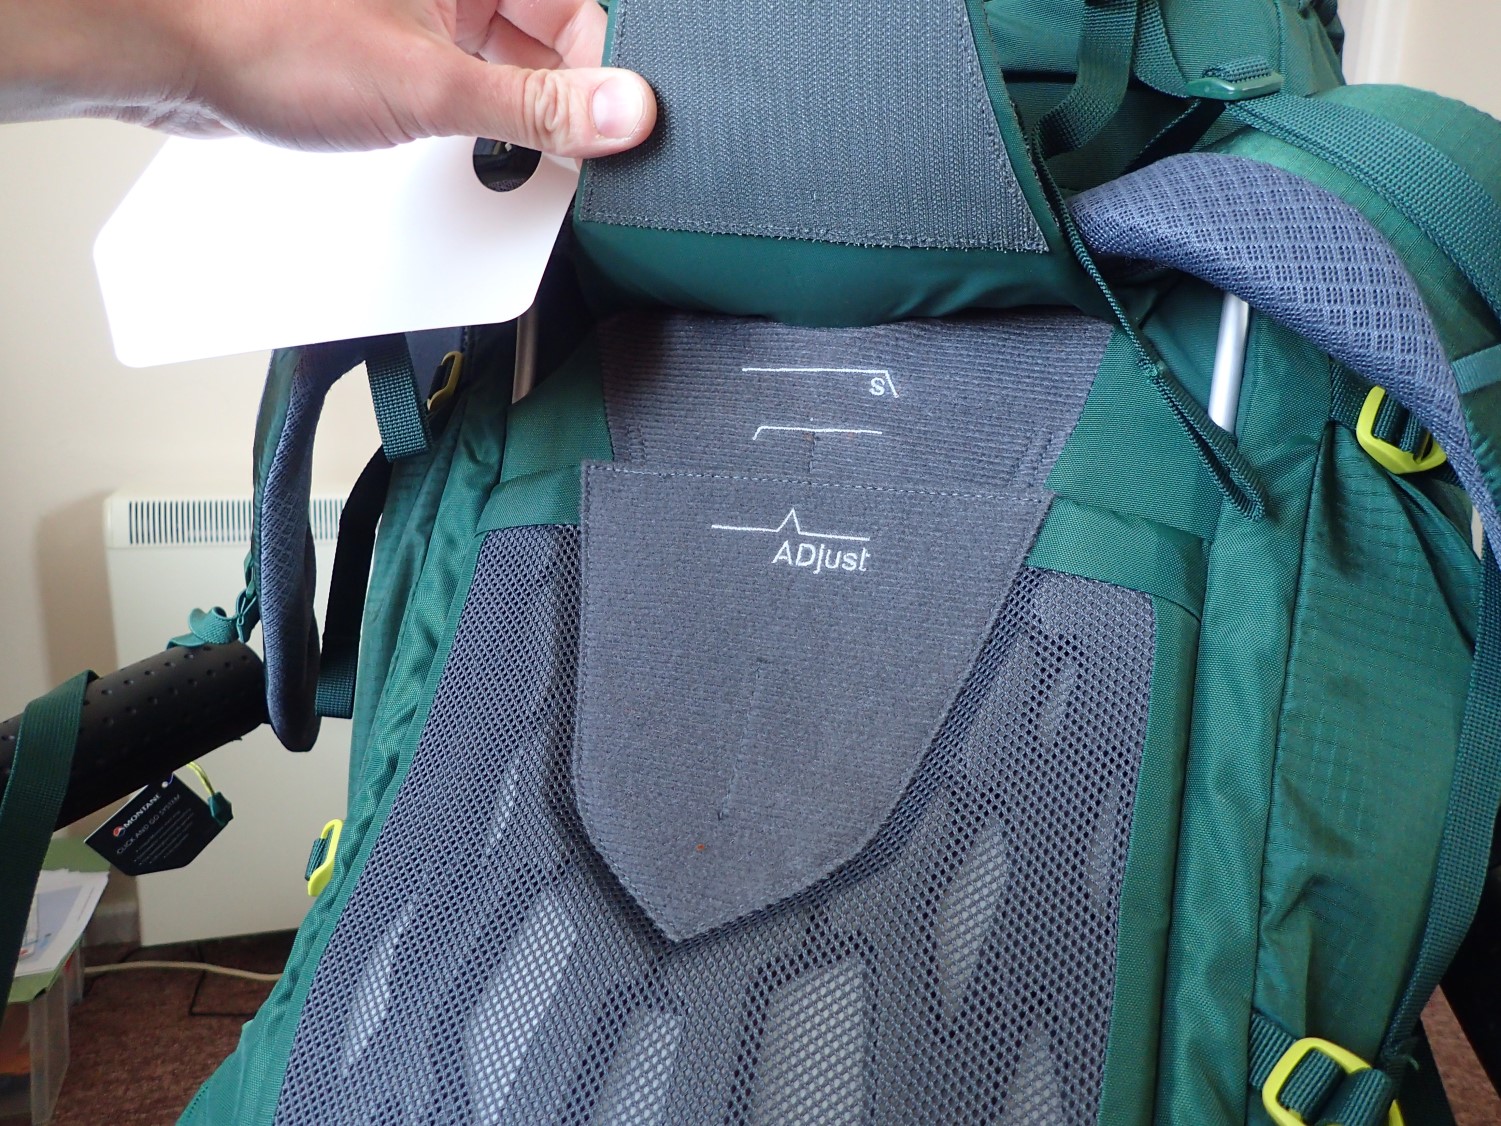
A critical feature for me was in the ease of being able to adjust the height of the shoulder straps. It’s quite similar to what Lowe Alpine use in their lightweight Aeon range.
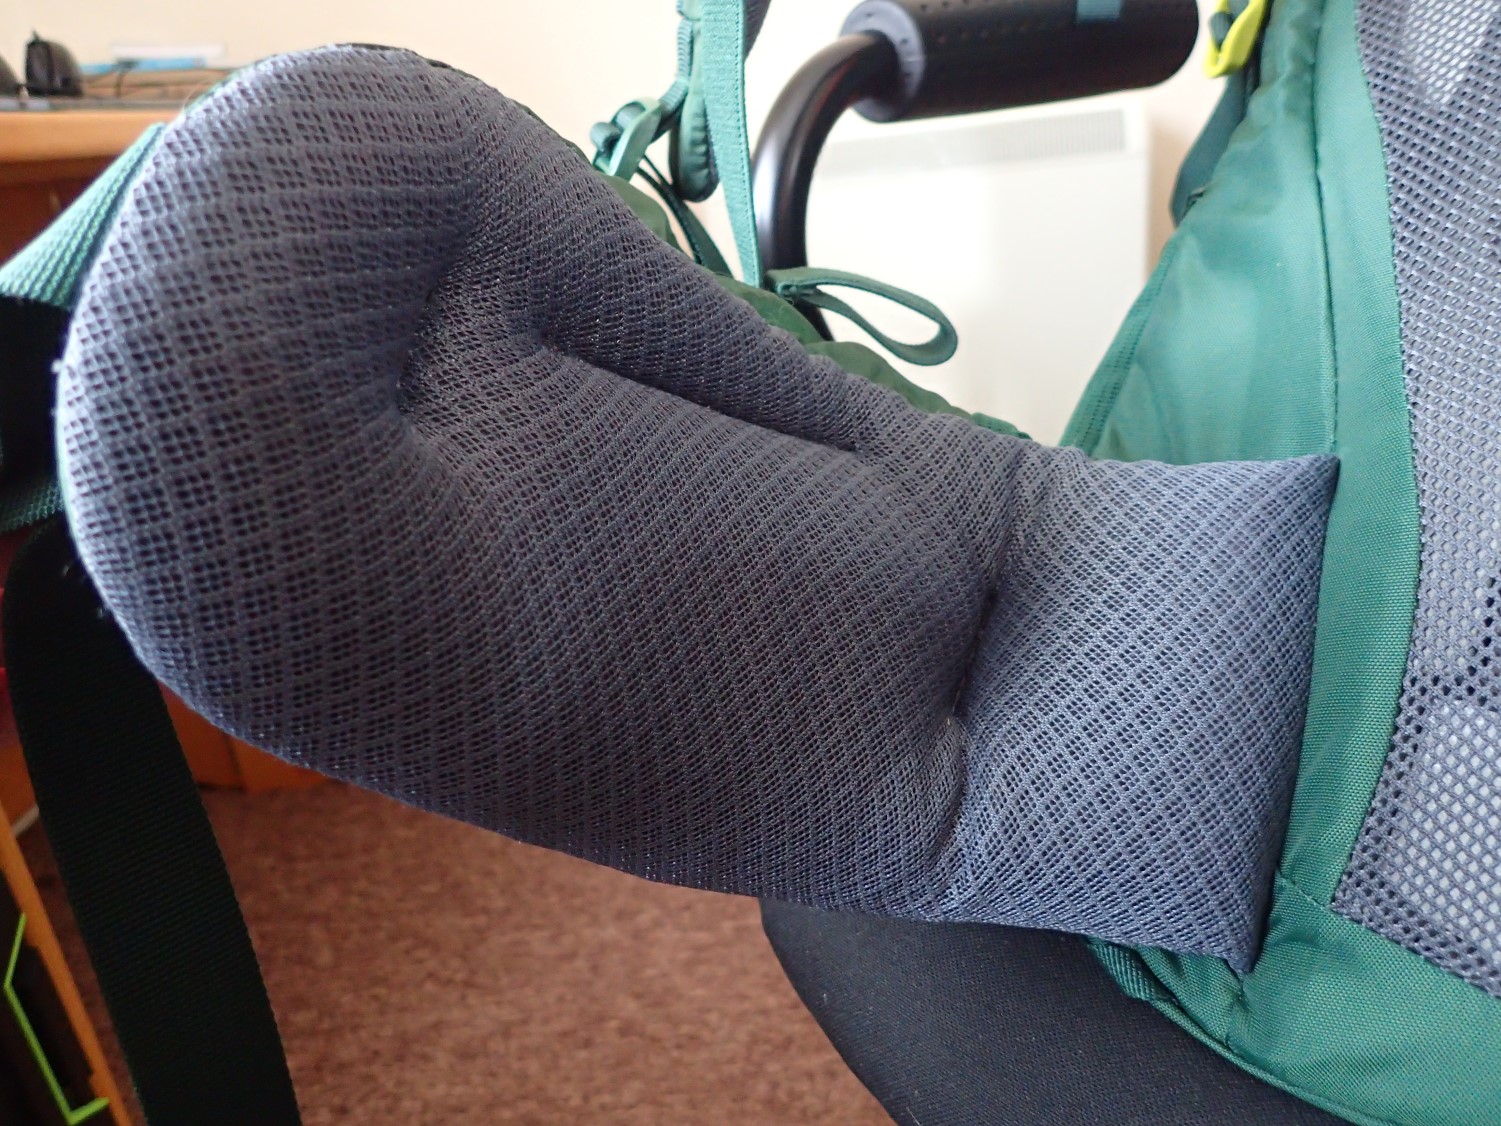
Both of the hipbelts are nicely padded and without the overly-generous lengths of webbing to keep everything secured to your torso.

There’s a natural curve to the shape of them and, while each pocket is large enough to hold a digital camera, I do find it slightly awkward trying to fit it in. I’ve had other packs where it slides in and out more easily but, this could be an issue that eases through wear and over time.
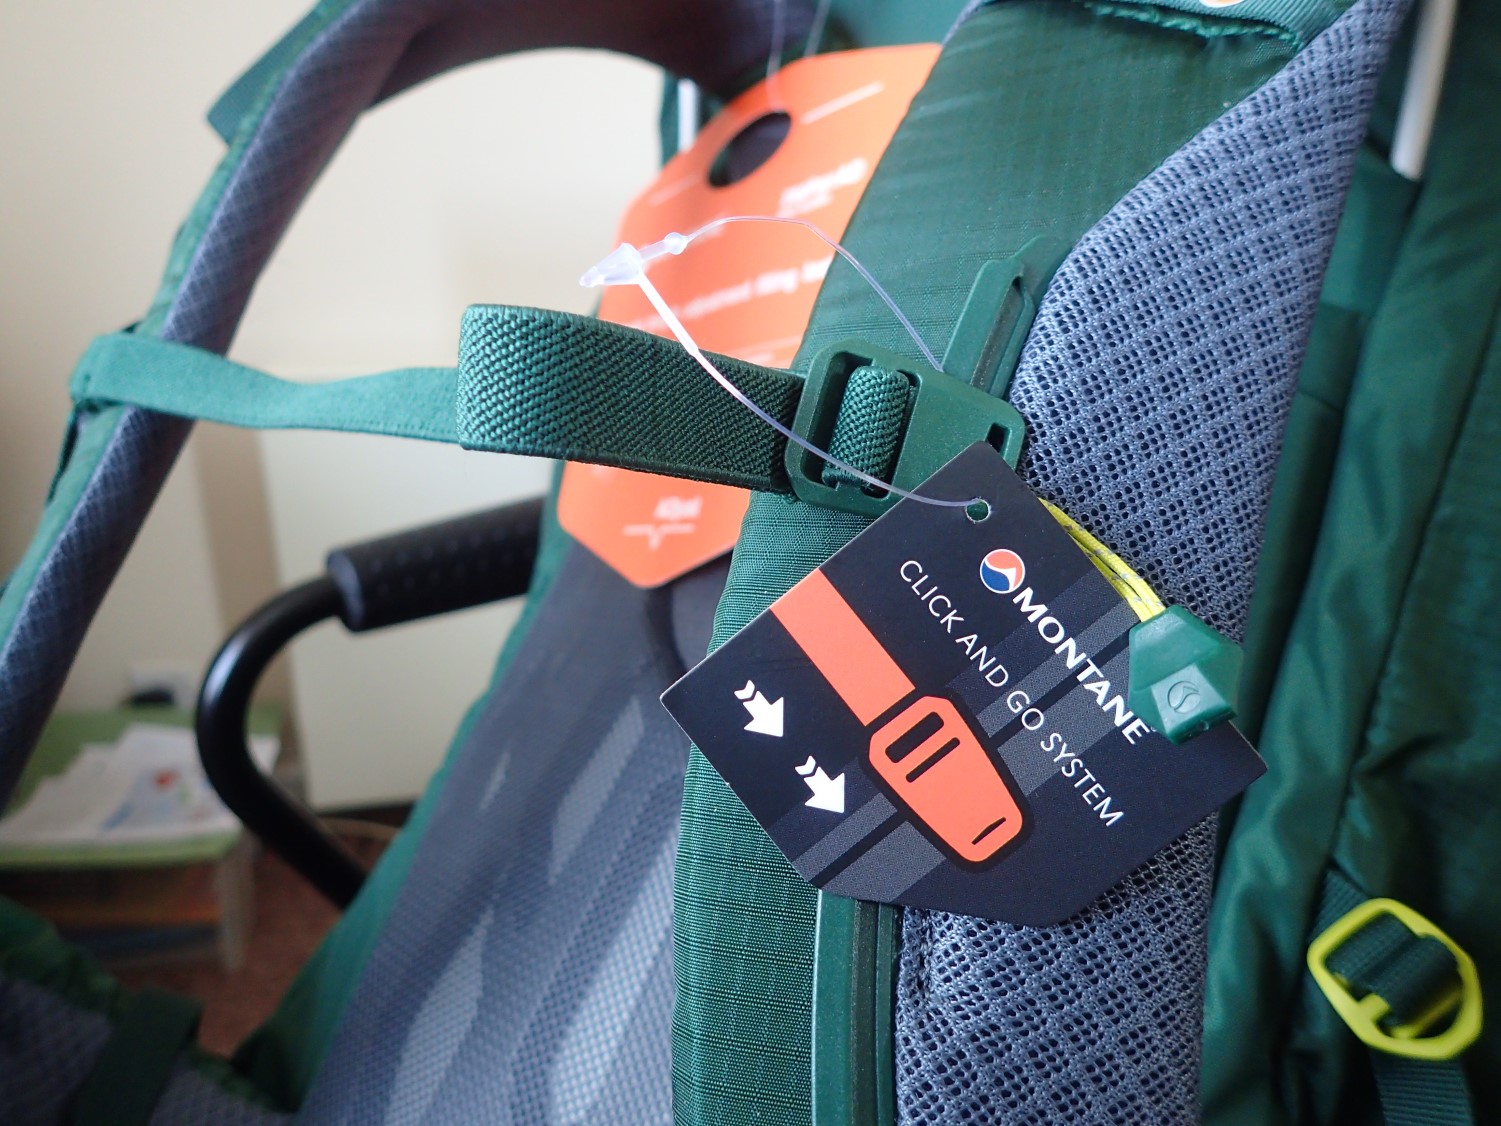
New to me was Montane’s Click-and-Go arrangement to secure the sternum strap. It may not look obvious but it’s very quick and easy to use. There’s enough ‘give’ in the stretch of the straps to keep thing comfortable. Having the plastic parts away from the centre of your body may be another benefit.
My Osprey Atmos, with its suspended ‘Anti Gravity’ backframe, weighed a staggering 2.6kg when empty! I’d thought about going for a totally frameless pack (something in the view of ultralight, even) but I’d decided to go with this internal frame design (it looks to be aluminium).
It doesn’t squeak or creak like the Osprey AG range and I weighed my new pack in at 1.55kg, which should instantly remove a whole kilogram from my shoulders.
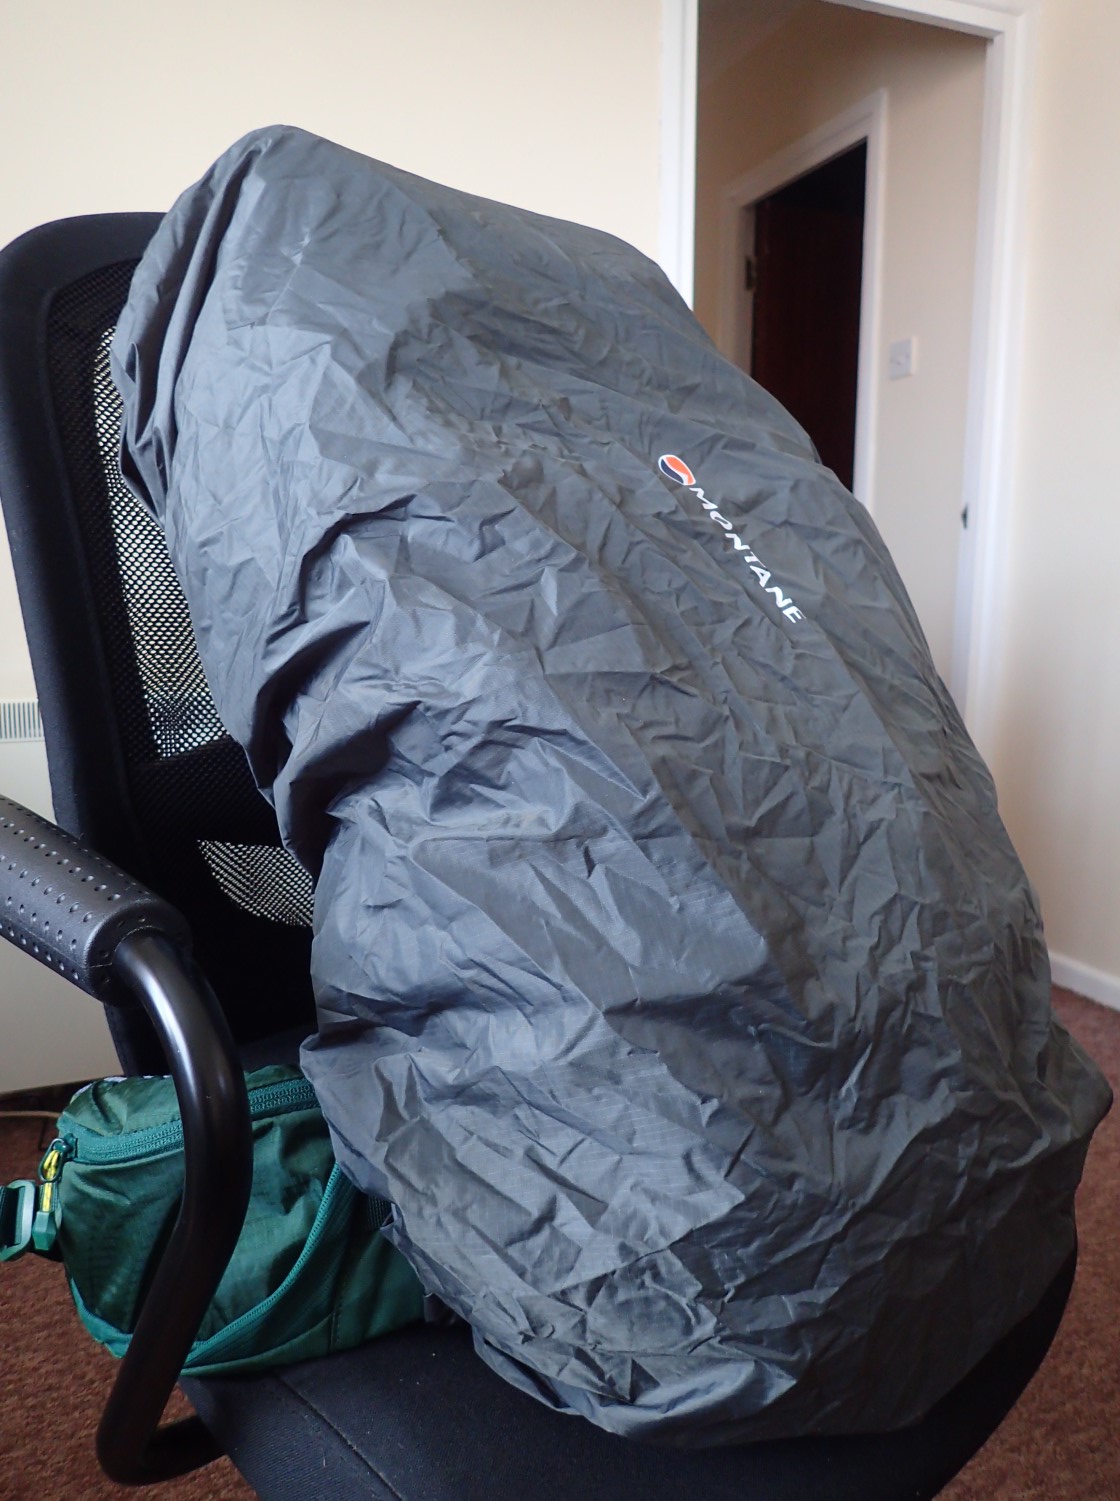
One last shot of the Montane Yupik 50, with the raincover fitted. It lacks the high-visibility of some other brands but I like it. I don’t always want to draw attention to myself when out hiking. As it’s only fixed at the top, there is a risk that the lower half could be freed in strong winds so, I may pack an accessory strap that could fit around the width (depending on the conditions I’m likely to be facing).
From what I can tell, there’s room for this cover to fit over any items attached to the external of the pack.
I look forward to taking this out on a few day hikes soon, as part of my training for the South Downs Way. From a tactile point of view, this somehow doesn’t feel as ‘nice’ as the Osprey and Lowe Alpine packs I’ve been familiar with. But it does seem to be durable, if not ultralight.
